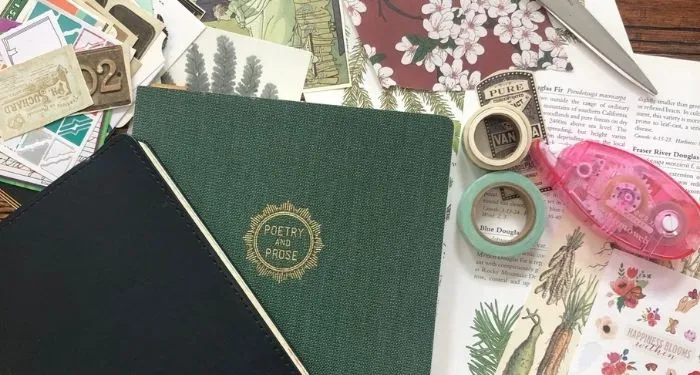
How to Make a Junk Journal
You’ve likely seen creators all over TikTok and Instagram showcasing beautiful pages of a journal filled with pages of paper, stickers, ribbons, and more, rarely leaving room for anything else to be added. These are called junk journals: a whole variety of journaling meant for more image-based journaling and memento-collecting rather than writing (but that doesn’t mean you can’t write in yours — more on that later). They’re made to be a bit messy and a lot of fun.
You also may think creating your own junk journal seems like an insurmountable task, but it’s easier than you’d think, and I’m going to show you how to make a junk journal using materials you probably already have around the house.
How to Make a Junk Journal
Step One: Make or Find Your Journal
The most daunting piece of the whole process is actually the journal itself. There are plenty of creators who are binding their own pages together and covering them with beautiful leather, which creates a lovely final piece. But for many (myself included), that requires a lot of tools and a lot of know-how that could be intimidating to dive headfirst into.
If you’re up for truly making a junk journal from scratch, there are creators who have amazing videos on how to bind and set pages. This one even shows you how to make a junk journal out of an old book!
But if you’re like me and would like to skip ahead, it’s super easy to create a junk journal from a blank notebook you already have! So grab that journal you’ve never used or bind your own book pages, and we’ll meet back in Step Two for the next piece.
Step Two: Gather Materials
You’ve got your pages to use as your journal, now we just need…everything else! First, gather items like scissors, glue or adhesive tape (acid-free, if you’d like this to last for many years to come), and other supplies you might want to try out, like a hole-punch or paper clips.
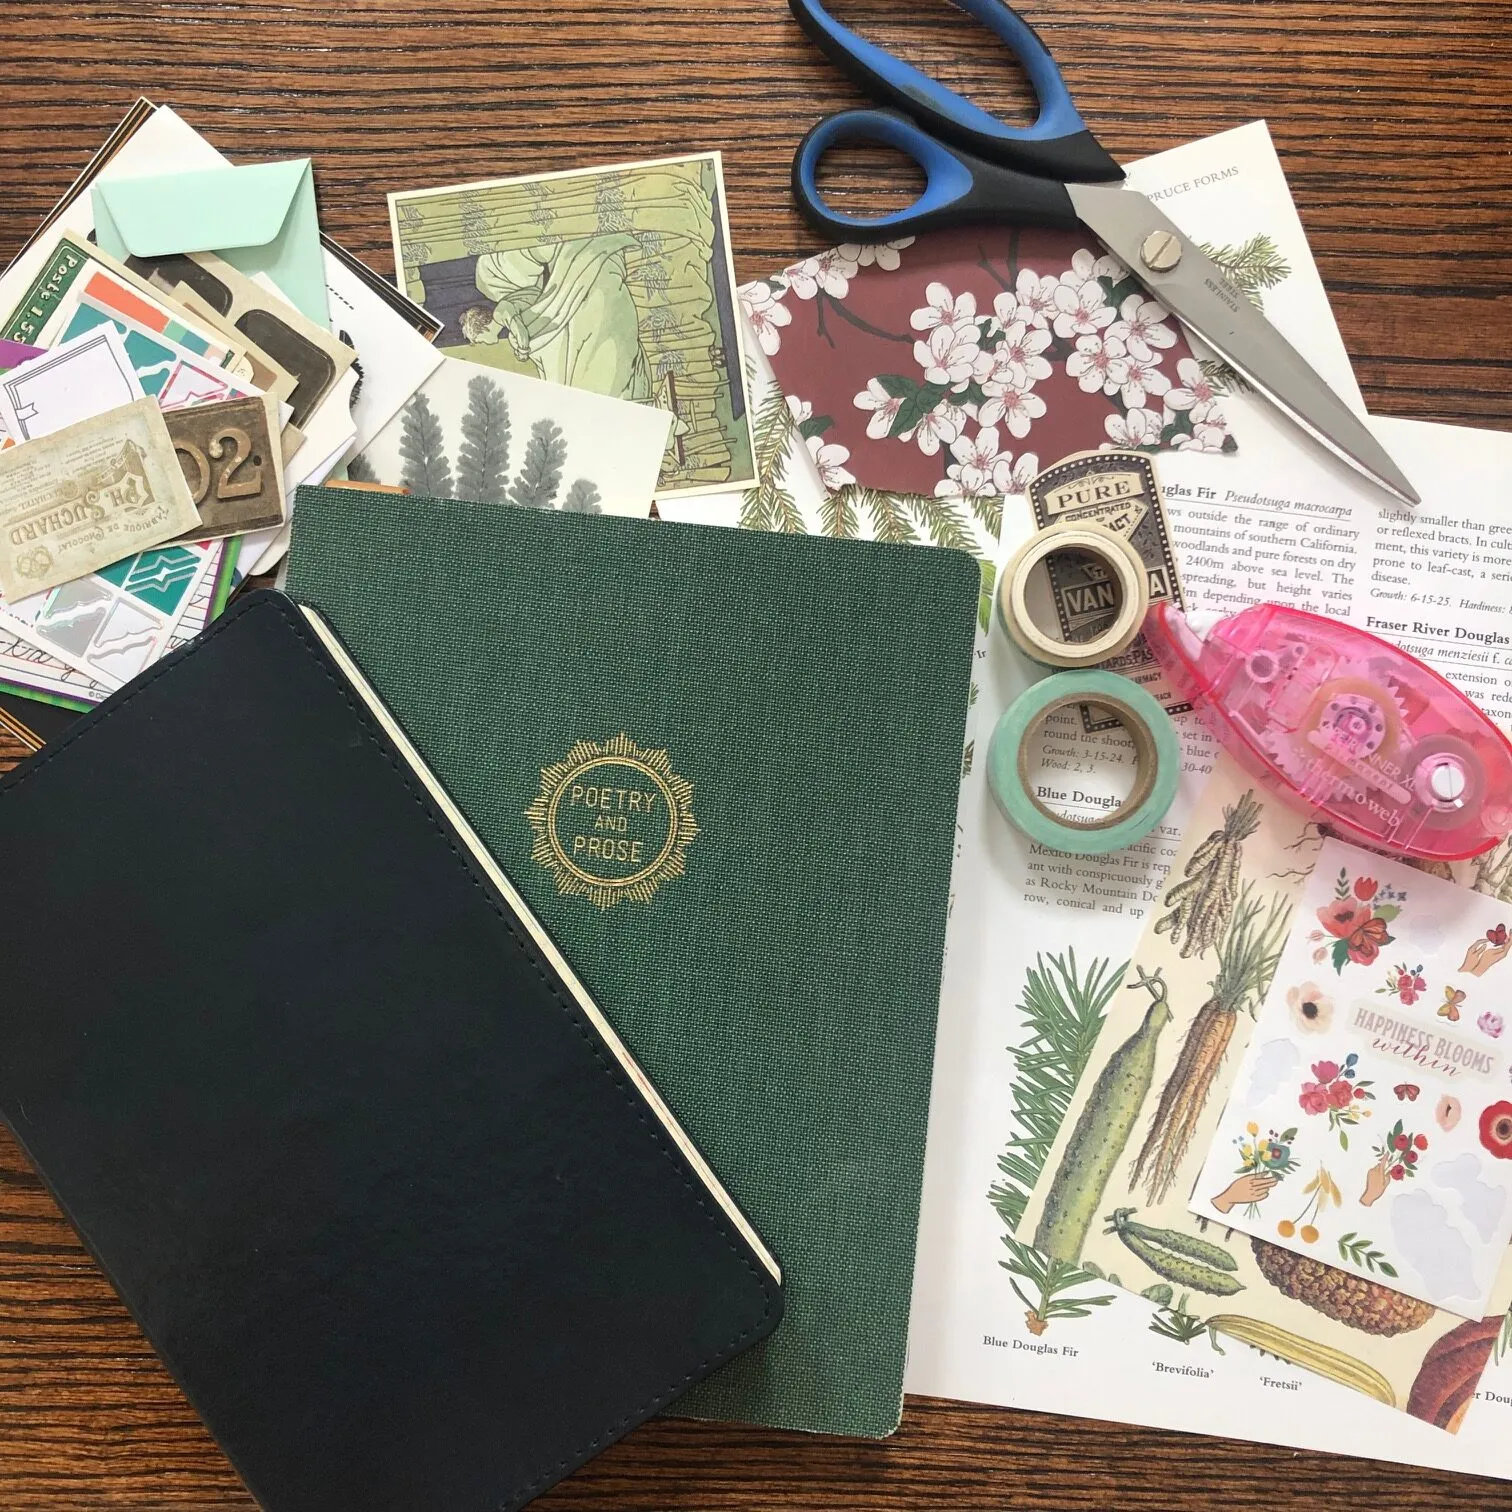
Next is the fun part. Collect any bits of old scrapbook paper, old books, envelopes, sticky notes, stickers, stamps, ribbons, washi tape, strings from various projects. Literally anything you have in your house is fair game. Remember: you can be a bit unconventional — this is a junk journal! Use things you ordinarily wouldn’t pick up first for an art project.
One of my favorite things to use are images from old science books I’ve bought at used library sales. There are great layouts of plant and animal species I have cut out and use as decor in my junk journal. I also snagged a lot of fun tissue paper from the holidays (now with a nice texture after having been used) and got some weird looks from relatives as I stashed it in my purse instead of the trash cans (fun!).
Step Three: Choose a Theme and Plan Your Layout
Some creators plan an entire junk journal around one specific theme, while others do it spread by spread, and others have absolutely zero plan at all! Again, it’s entirely up to you: the whole point of a junk journal is to allow you to create something that is fun and freeing and entirely what you want it to be.
For me (and this is where I’ll get back into the writing portion), I actually use my commonplace book and my junk journal as one. That is, I have a book I keep of quotes I come across while reading that I love, and I add them into my junk journal.
I have my quotes split up in categories, and the first page I worked on was in the ~inspiration~ category. Once I decided which quote I was going to write in my journal, I sifted through my materials to find ones that I thought fit well into my theme, pulling those out.
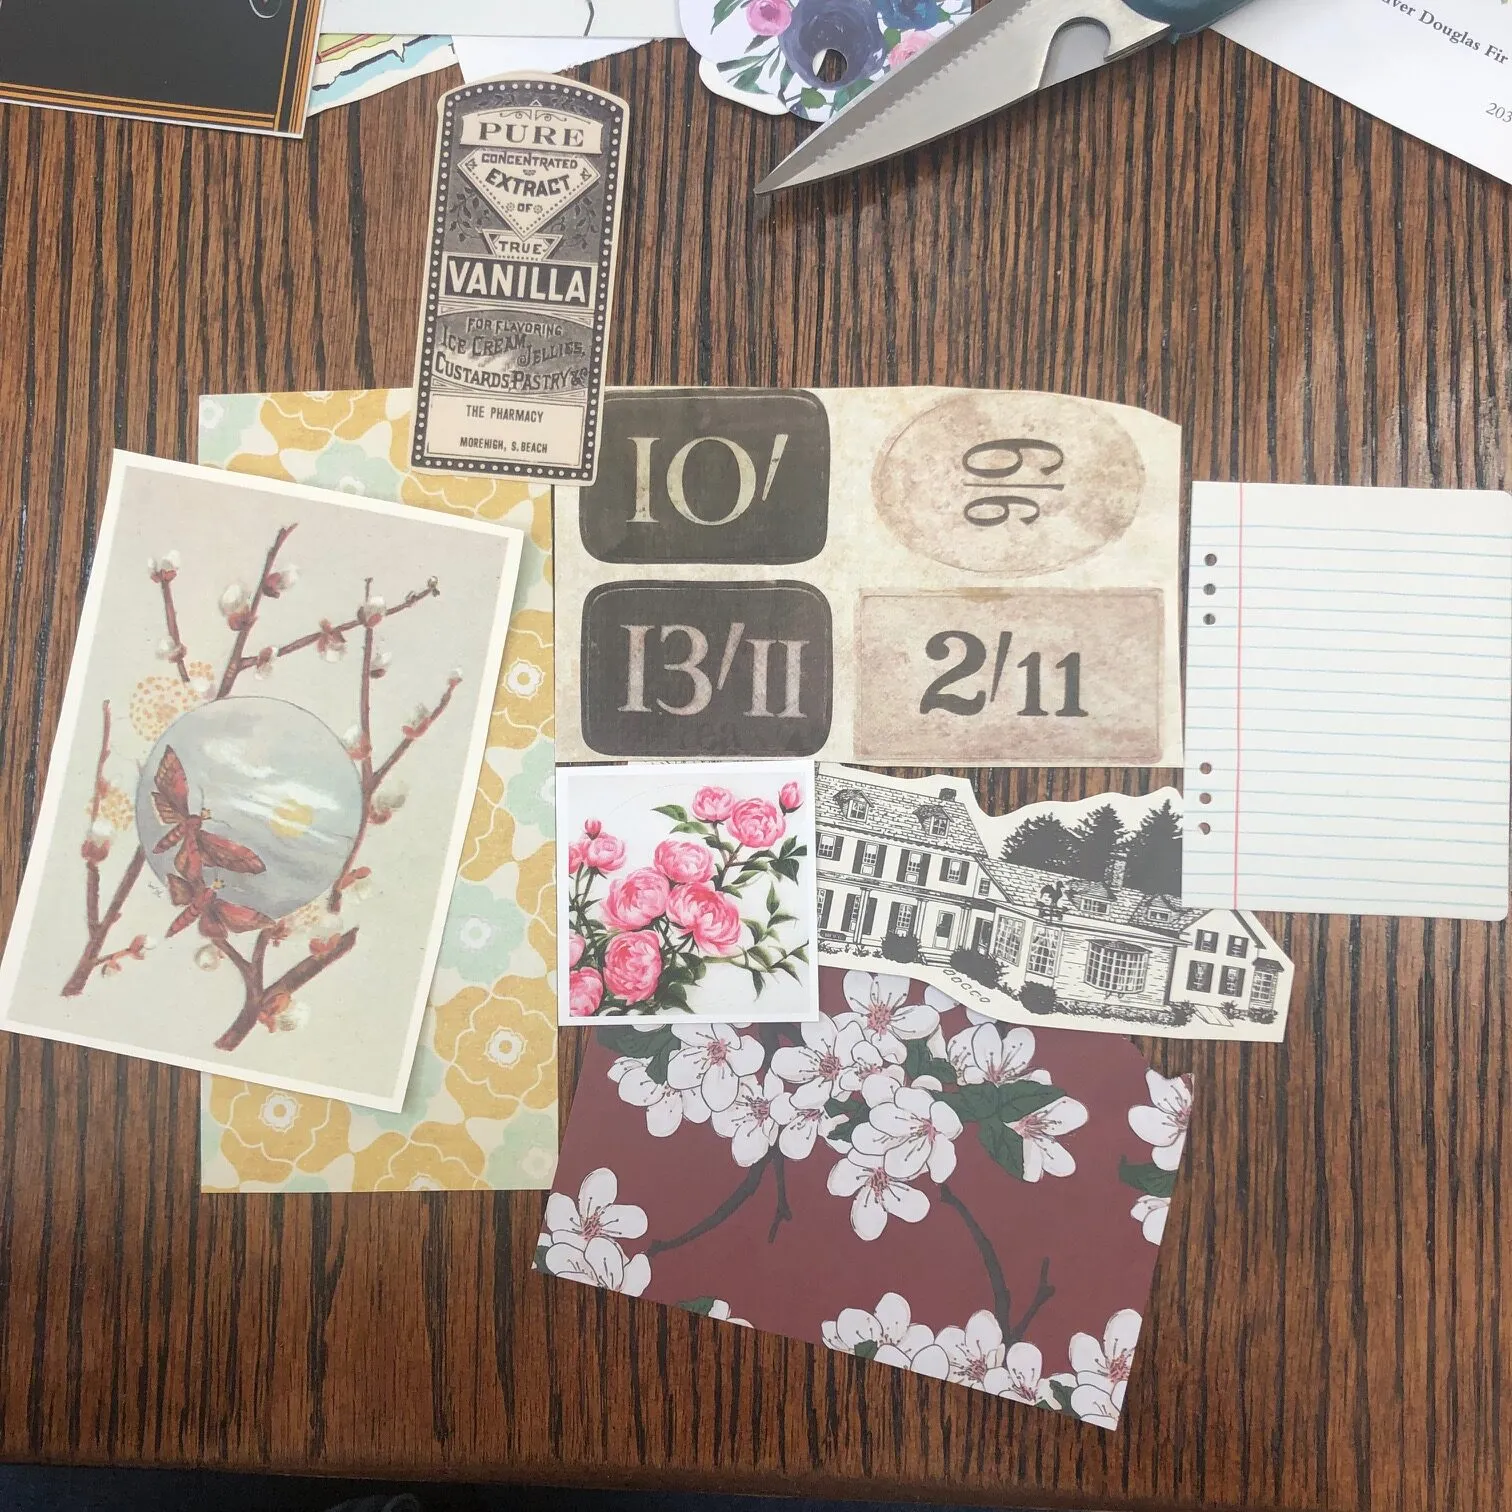
Next, use your materials to lay out your page. I recommend laying out most pieces before actually gluing or taping, just to make sure you like the final piece. It’s also easy to move things around and try them in different configurations.
One key that I have found when it comes to making junk journals is: don’t be afraid of layering! You don’t need to use just one piece of paper and one embellishment on a page. Add many layers of paper and lots of pieces to one page. I especially recommend this if, like me, you started with a pre-made journal and didn’t bind your own pages. Adding background pages and lots of layers will help give it the look that you did actually bind the pages yourself and will add lots of personality to your journal.
Step Four: Time to Glue Everything!
Once you have your layout set, it’s time to secure everything in place. Some people are very precise about marking where items go, but I’m a bit more chaotic and simply start pasting things down as I see them. It’s totally up to you how you want to go about it.
And don’t be afraid to add last-minute changes. The fun of a junk journal is that it can be a little messy, a little wild, and it’s totally okay to add stuff if you’d like once you get it all down. This is where you’ll see me add in my quotes that I want to record, and I always make sure I have a little space somewhere to write them in.
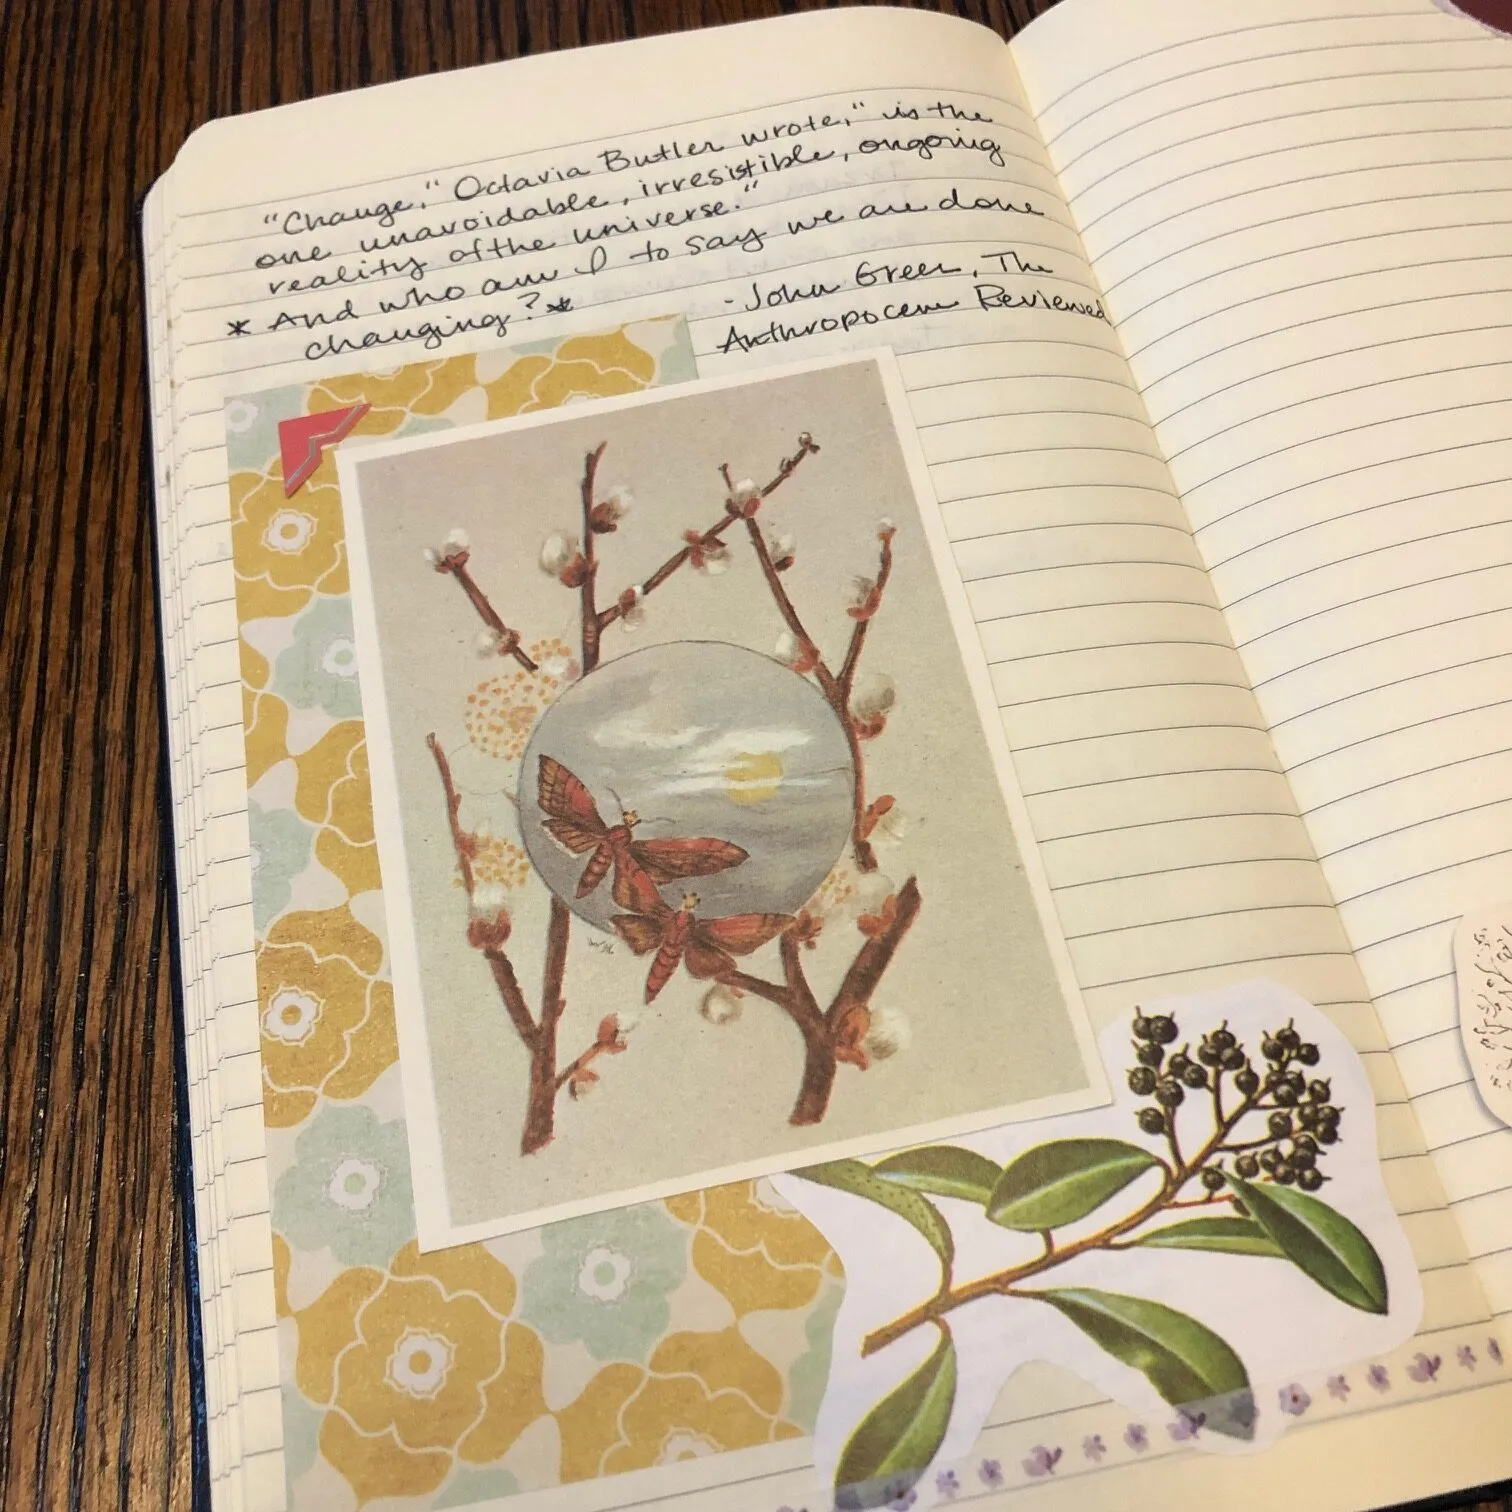
For this page, I chose to keep the layering pretty light and minimal, but that’s not always the case.
For another page I made — in my nature section — even though I’m working with a pre-lined notebook, I wanted to give the feel that I had made the pages myself. So I added background pages and more lined paper on top of that, resulting in a much more filled-in spread.
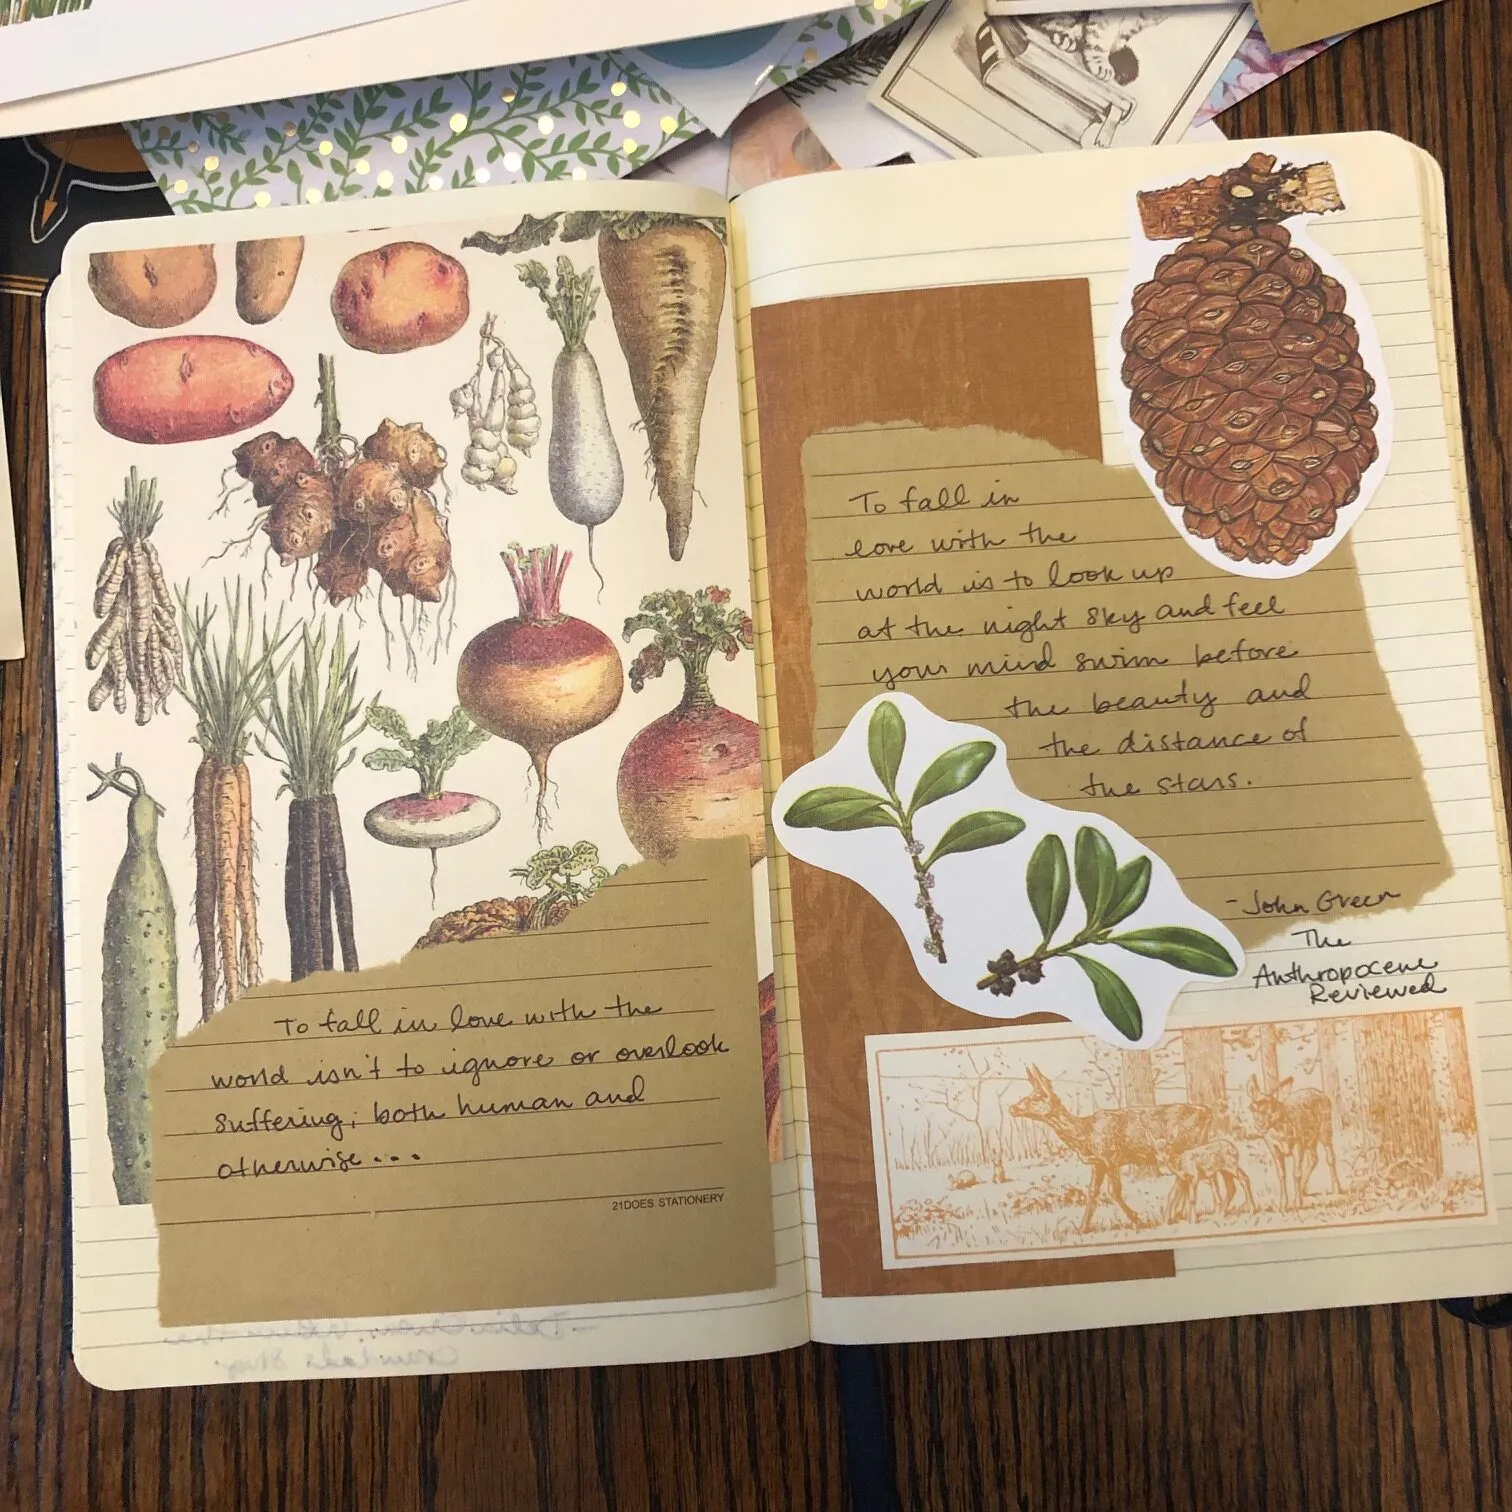
How much you want to add or create in your junk journal is totally up to you. That is, after all, the reason junk journals are so fun. You can add anything you like to them! (And, after you’re done with some pages, don’t throw your paper scraps away! You can see I tore some pages above to get a nice ripped-edge look, but you can bet I saved the other pieces of those papers so I can use them on another spread someday! Save the junk!)
If you’re not quite ready to dive into making a whole journal but still want to do some bookish crafts, you can make pressed-flower bookmarks.


