
How to Make Bookmarks in Canva
I don’t know any reader who doesn’t love a good bookmark, and I personally enjoy collecting just as many bookmarks as I pile up unread books, regardless of whether or not I’ll use them! I love them all, from the bookstore freebies advertising beloved local indies and new releases to the clever, punny bookmarks used as promo materials to the gorgeous tiny pieces of art that I’m always afraid I’ll lose or destroy. And who among us hasn’t stopped and wished for the perfect bookmark and then thought, I could make that. But how?
The good news is that making your own fantastic-looking bookmarks doesn’t take any specialized art skills, design experience, or even special software. There is a very simple way that you can design them for free, and then download the files and print them either on your own printer or take them to print shop service of your choice. So whether you’re an author, teacher, librarian, bookseller, business owner, or just an avid reader looking for some personalized and customizable bookmark options that look polished and professional, I’ll walk you through how to make your own bookmarks in a cool free program called Canva.
What is Canva?
Canva is a browser-based graphic design program for people who aren’t graphic designers. Canva allows you to choose from myriad presets to make social media graphics, banners, bookmarks, and more, and they offer high quality design elements and templates that are easy to customize according to your unique needs. Canva is a subscription-based service that offers a free account for single users, with plenty of design options. Some of their content is only available at the paid or premium level, but I’ve been using Canva for nearly five years for personal and professional projects, and I’ve managed to squeak by without ever having to pay for an account or any of the features. Today, I’ll show you how to make attractive bookmarks without paying a cent in design fees.
How to Make Bookmarks in Canva
Once you’ve created your free Canva account, you’ll find yourself on a home page with a bunch of design options. Click on the purple “Create a design” button, and a drop down menu will appear with a bunch if suggestions. If Bookmark isn’t an option, simply type the word in the search bar. Then, select “Bookmark.”
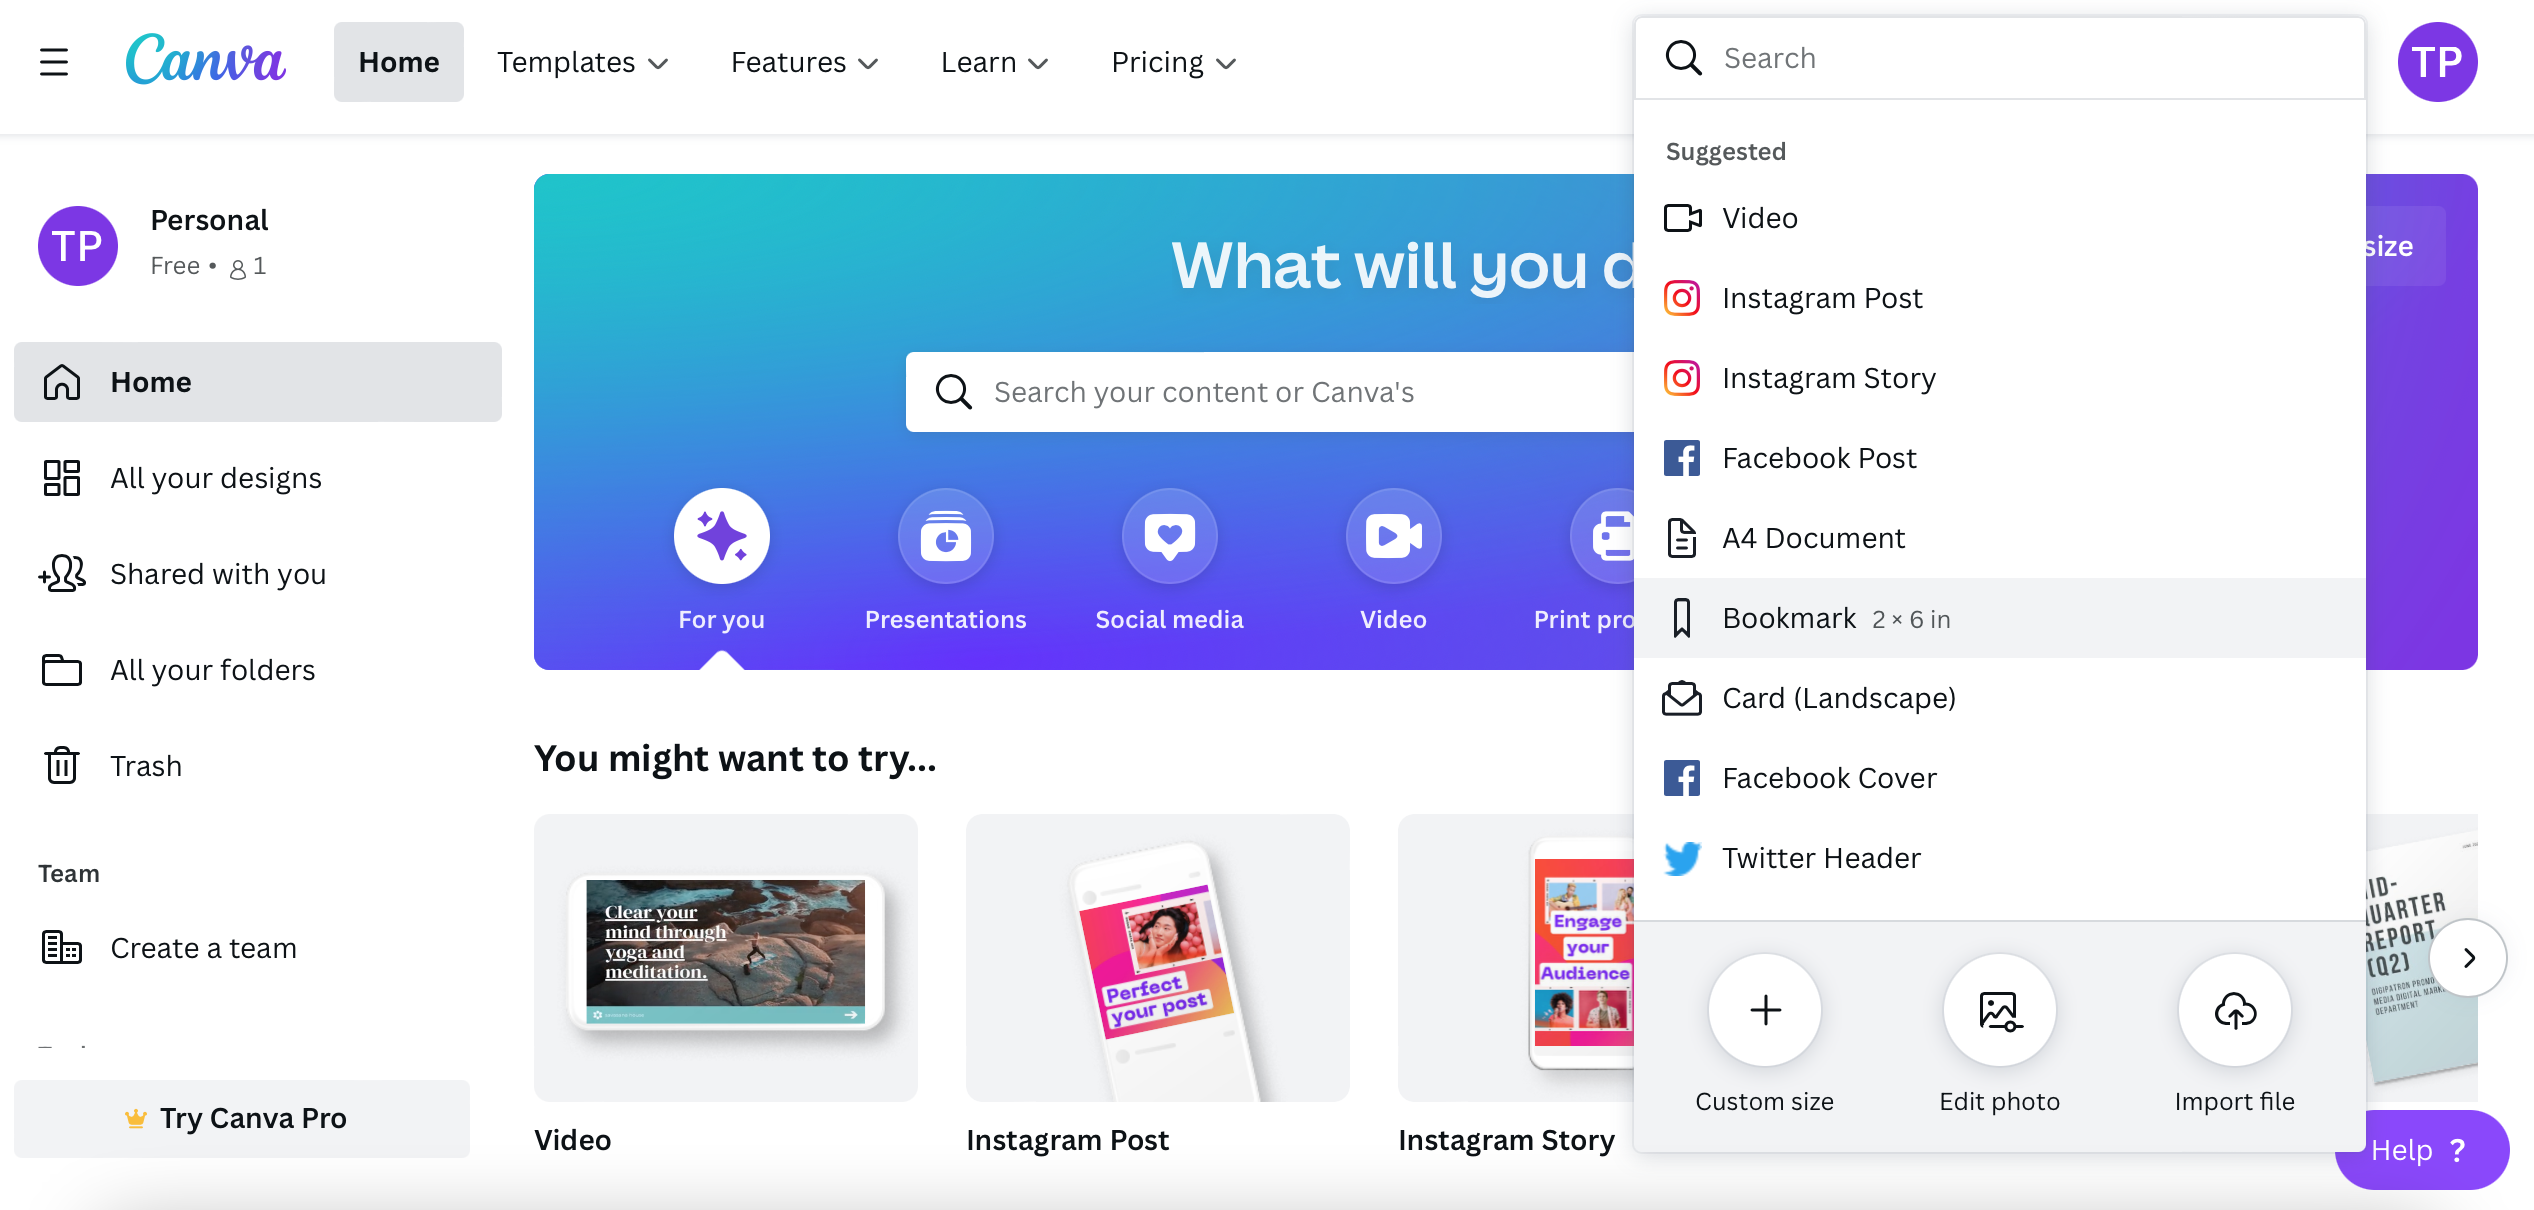
Canva will open a new tab with the design interface, and a bookmark will already be waiting for you. Canva offers bookmarks in the standard design size of 2″ x 6″. If you want to create a different size bookmark, you will have to click on Custom Size — but be aware that if you choose a custom size, some of the bookmark templates might not be available. (That’s okay if you’re designing your own vision. Keep reading to learn more about the design!)
The design interface offers a number of options, which I’ll break down:
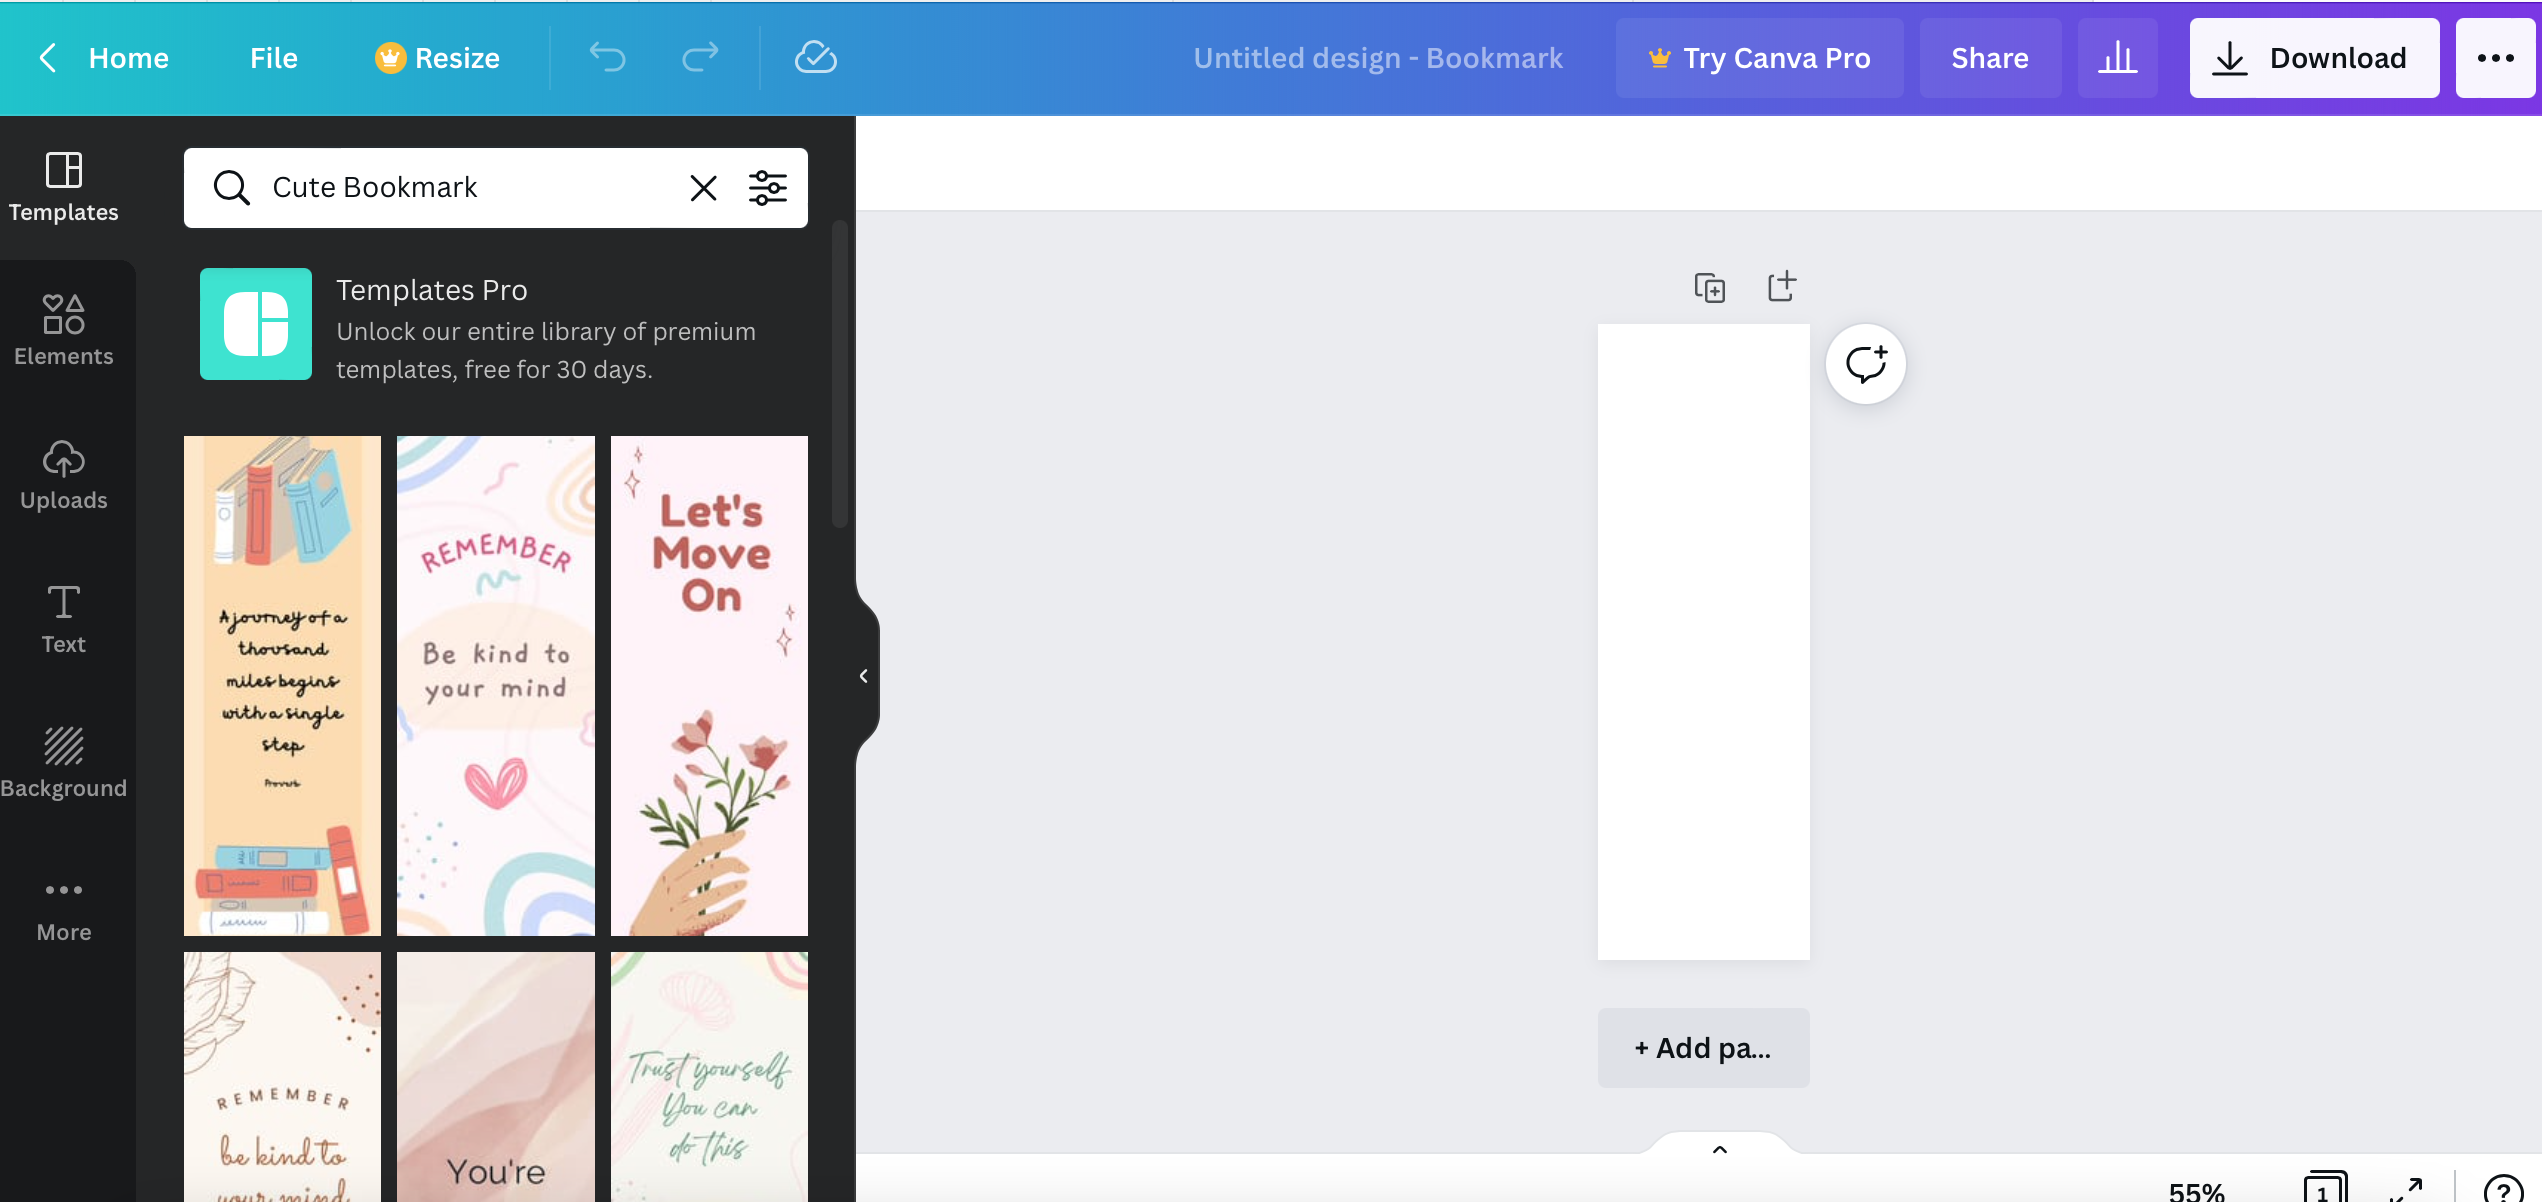
At the center, you will see a blank bookmark. On the far left, you see a number of options, including Templates, Elements, Uploads, Text, Background, and More. Templates will also show up on the left, and you can scroll through a bunch of different presets. Some of these are free, but if you see a little crown symbol in the bottom right of the design, that means you must pay to use that design. There are plenty of free designs, so you won’t have a problem finding options.
If you’d rather create your own bookmark design, you can click on backgrounds to fill the background of your bookmark in, text to add different text elements, uploads to add your own images, and elements to add things like grids and graphic elements. The opportunities are limitless!
I’ll show you how to choose a bookmark from the preset template and edit it for your own purposes, and how to create a bookmark design from scratch.
Creating a Bookmark from a Template
Once you find a template you like and if it’s free, you can simply click on that template and drag it over to your blank white bookmark. The design will show up on your bookmark, and you can edit it.
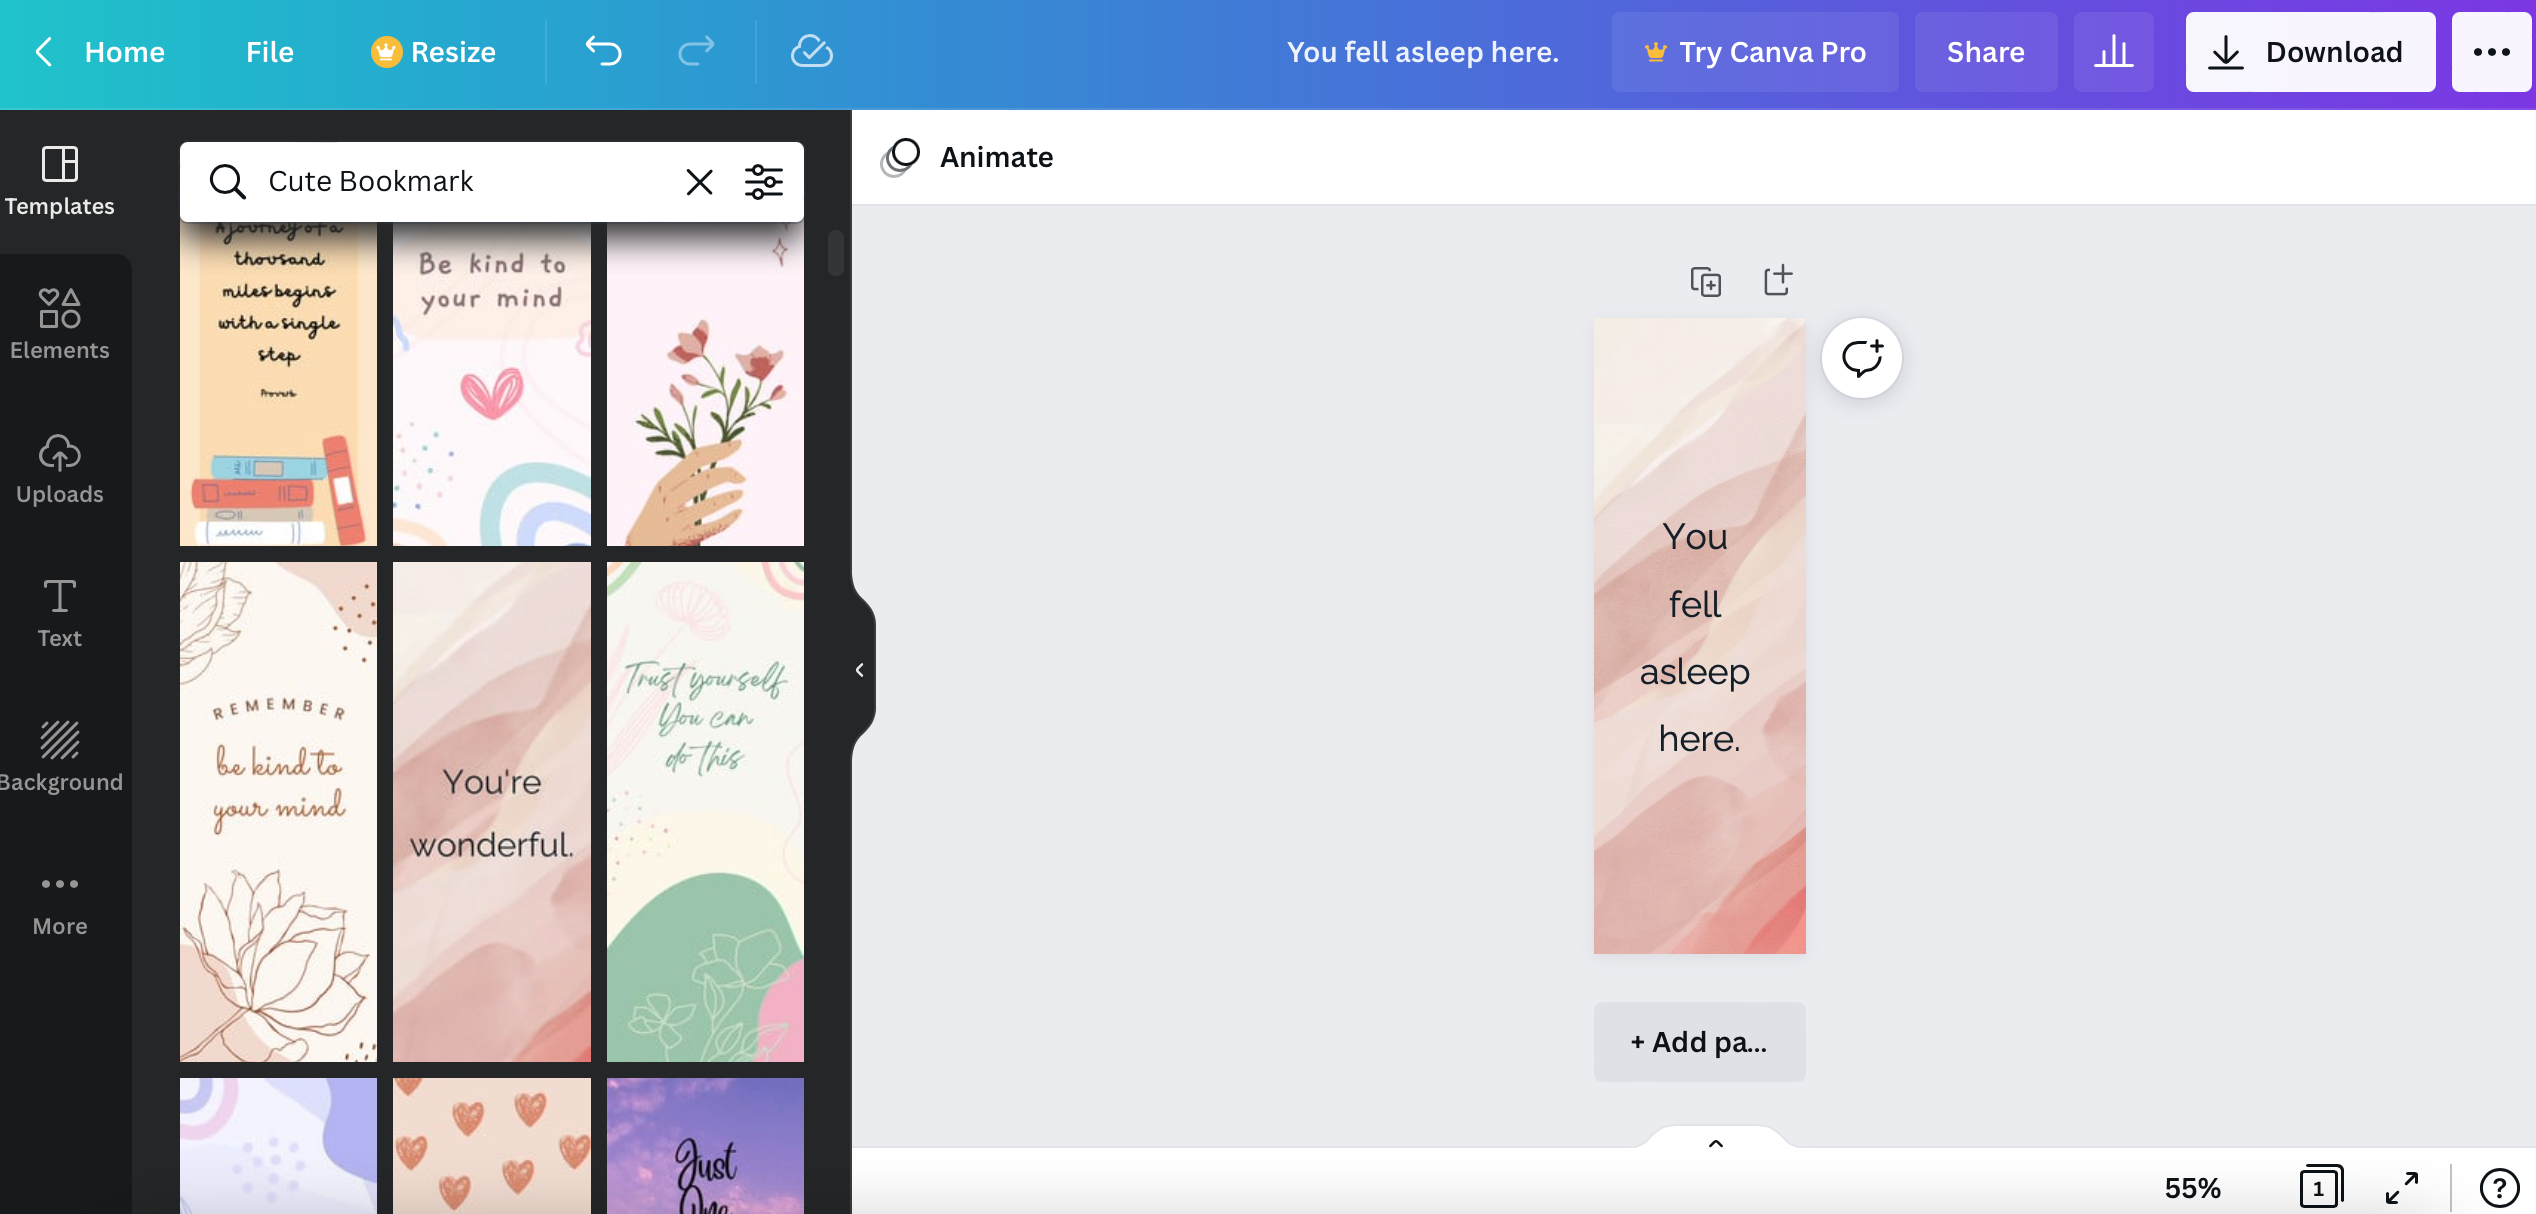
As you can see above, I chose the center template on the left to pull over to my design space. However, I wanted the text on my bookmark to say something different. I double clicked on the text, and rewrote it. From there, you can also change the font, size, and adjust the positioning of the text. You could also add elements to this design — photos from uploads, more text, or design elements. The beautiful thing about these templates is that every element is editable, so you can take a design you like and make it your own.
When you’re ready to download your bookmark, you can name it at the top of the page (My file title is “You fell asleep here”), then click Download. This will bring up multiple file download options.

Canva will often make recommendations about the best download option, but here you can see there are multiple file options. Click on the one you want, and your file will automatically download to your computer.
Note: If you choose a template or design element that require payment for use, this will be the stage where Canva will ask for payment or for an account upgrade in order to download your content. This is nice, because you can can design the file and decide if you like it before paying for it.
Designing a Bookmark from Scratch
If you’ve got a vision in mind, then Canva can help you achieve it quickly and painlessly! Here, I’ll show you how I very quickly designed a bookmark offering recommendations on a theme.
The first thing I did was decide on a background for my bookmark:
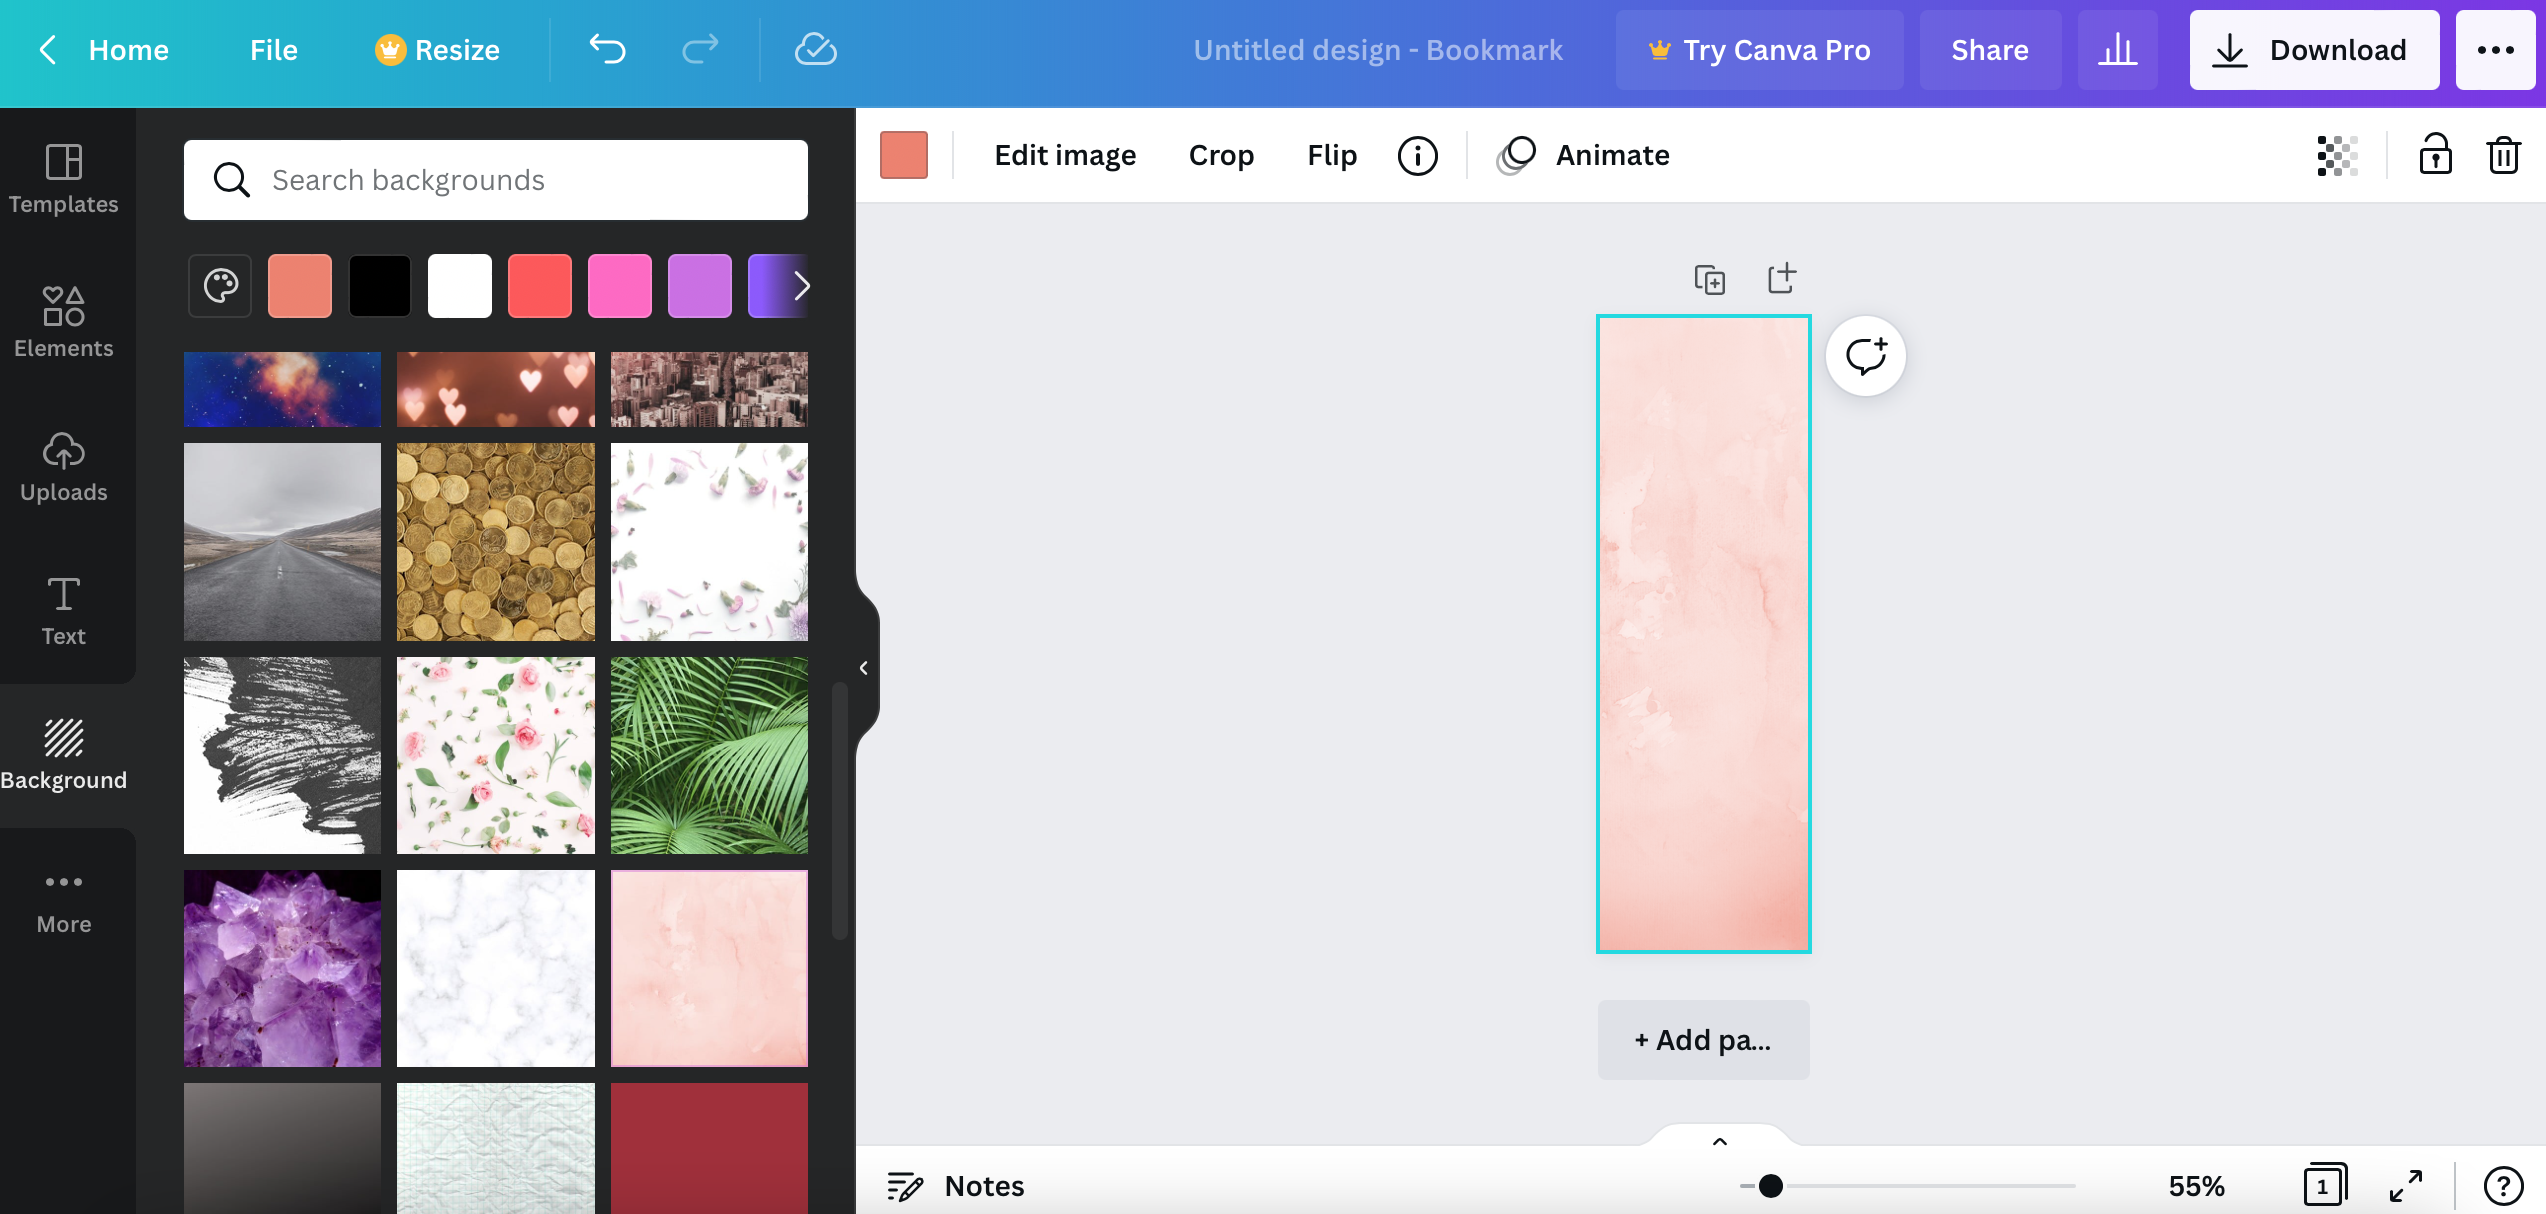
I clicked on Background, and found a bunch of options for backgrounds, from solid colors to photo images to illustrated designs. (Note: if you want your own photo to appear as a background on your bookmark, you can do that! You’ll just have to go to Uploads to get it in Canva.)
I chose something understated, and all I had to do was click on it and drag it over to my bookmark.
Next, I decided to add some text and images:
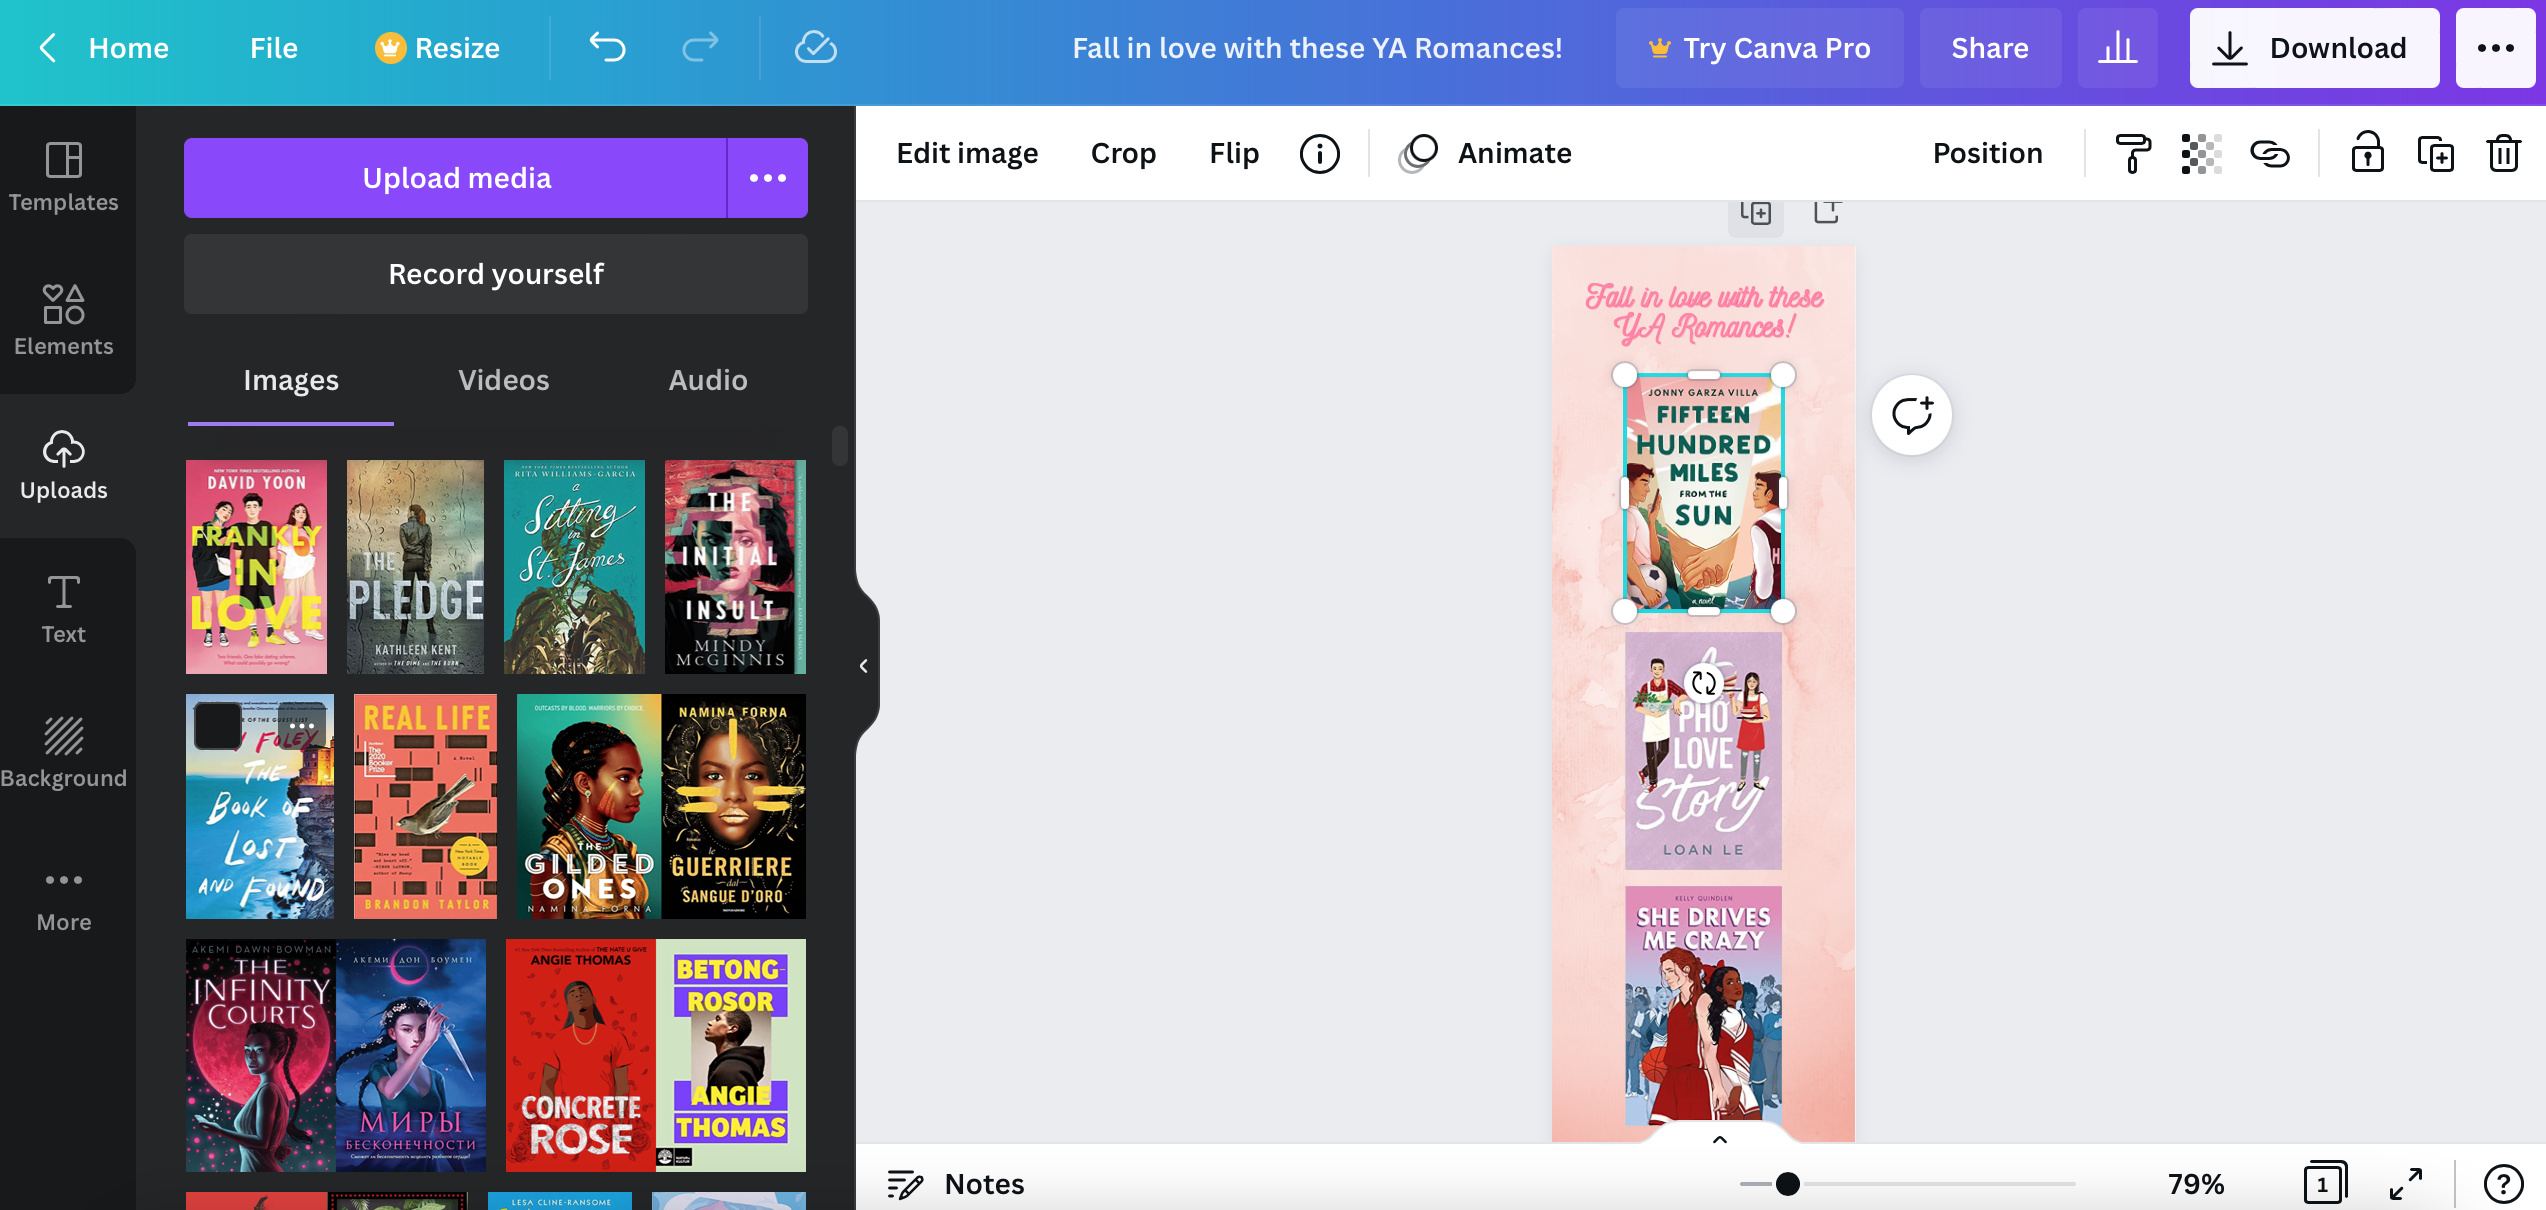
In text, I found some cursive word art I liked and dragged it over, then changed the text and aligned it at the top. Then, I went to uploads and I uploaded some book cover images. I dragged each one over to the bookmark. As you can see, there are options at the tip to position, etc, crop, and flip the images. I made sure they were the same size and aligned them into position.
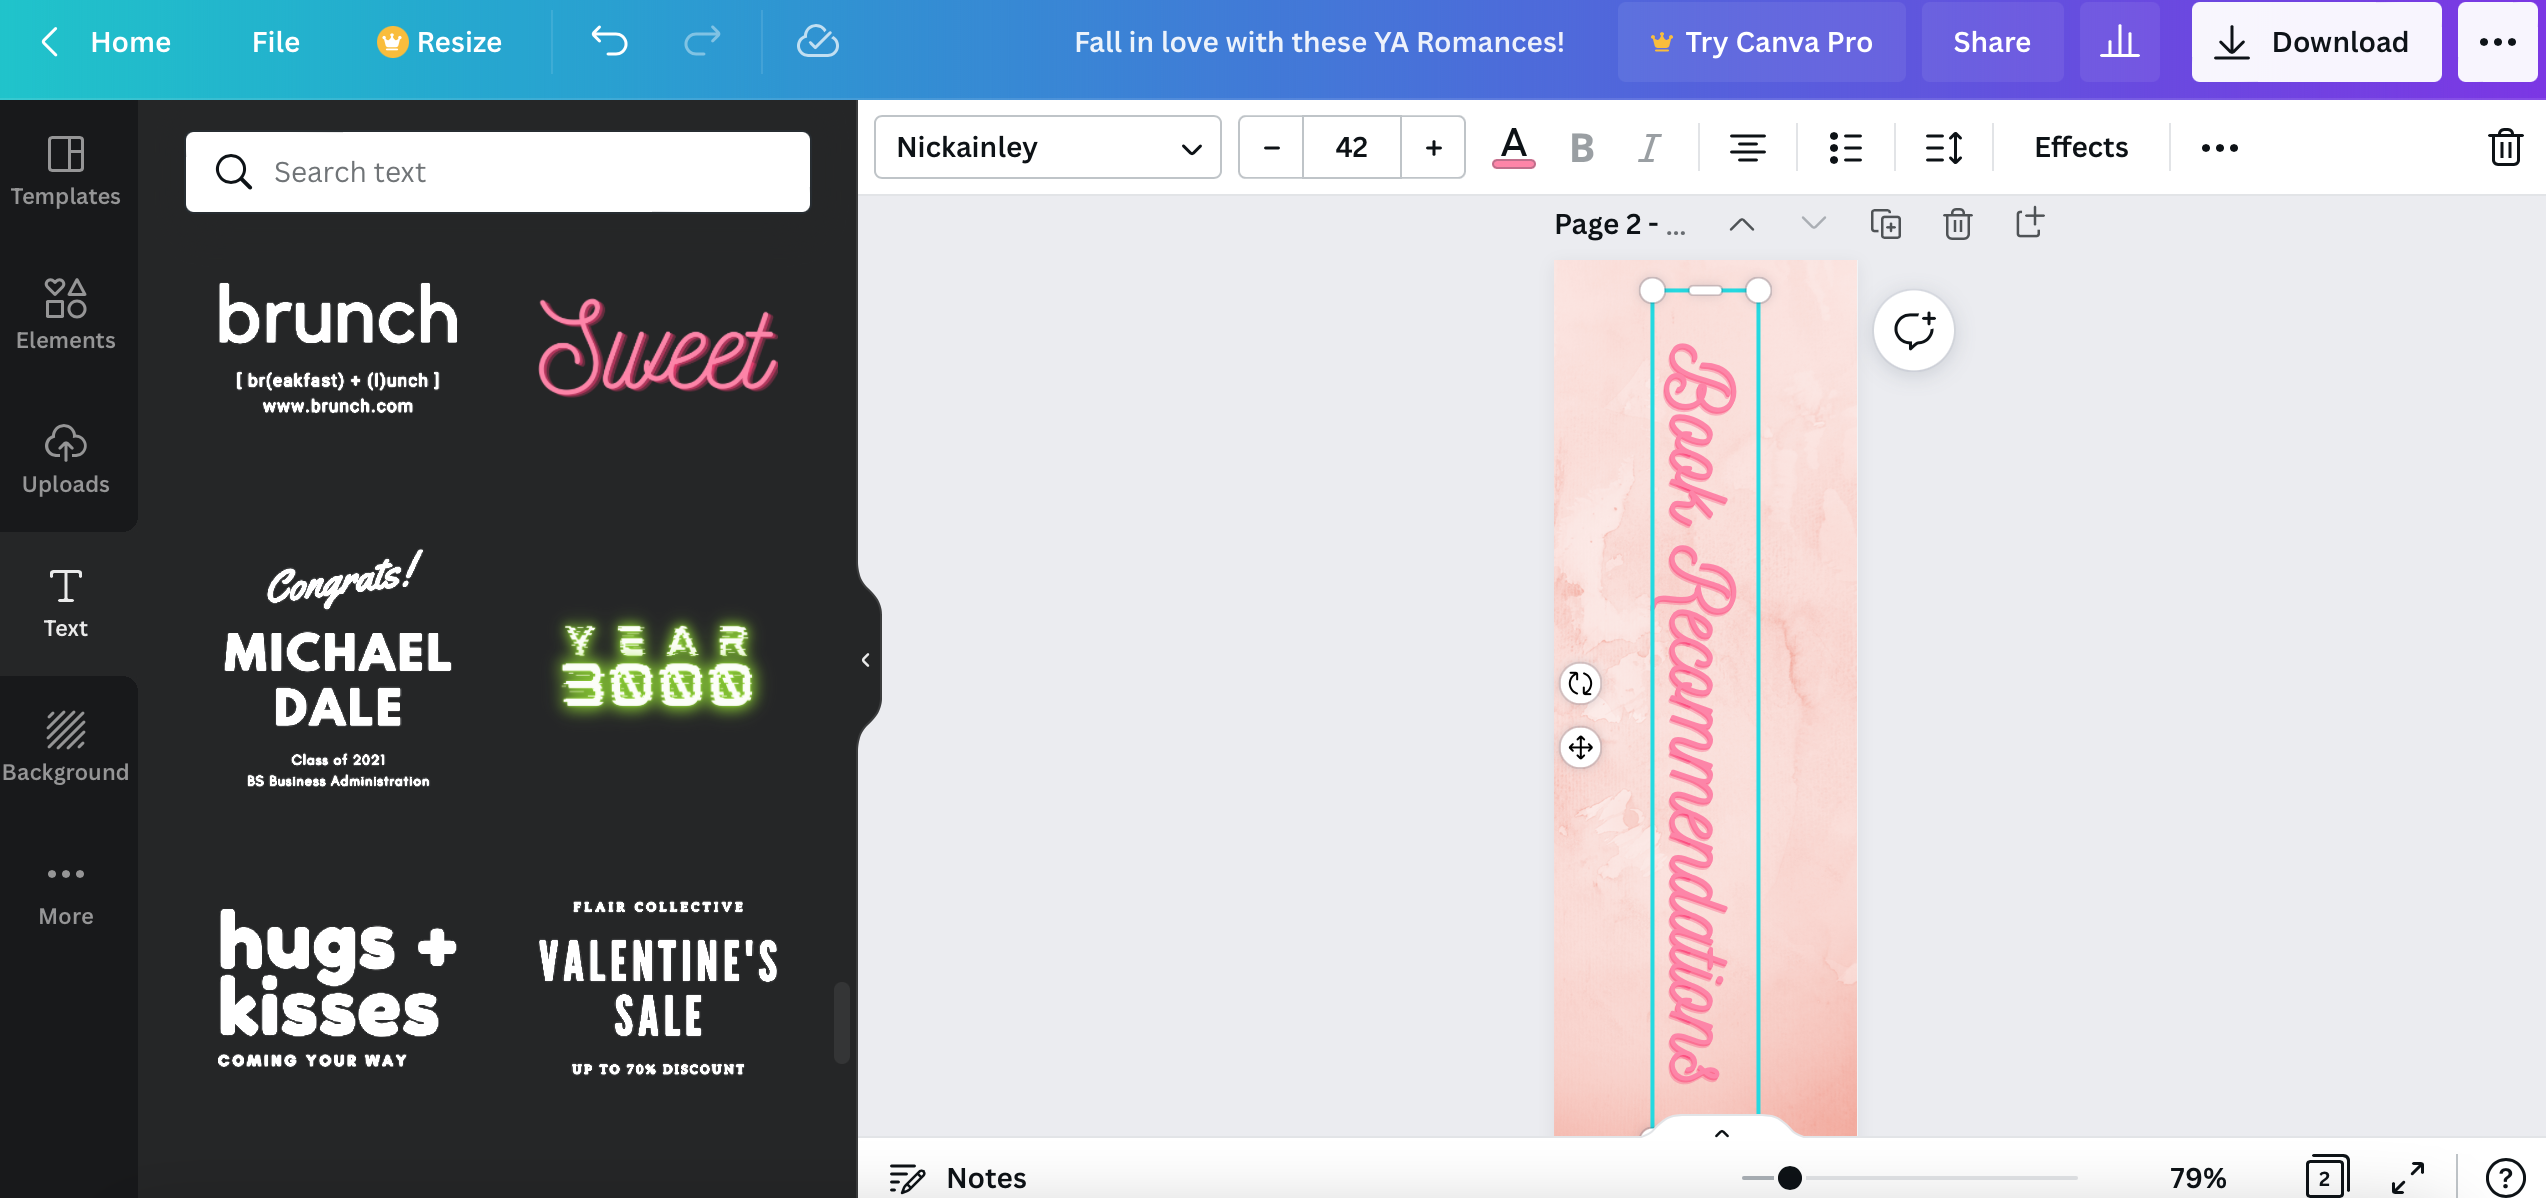
You can also create a second page to your bookmark, if you want it to have a different back! Look above the image for a plus sign in a box, and click on that to create a duplicate page. From there, you can design the other side of your bookmark. I chose to forego cover images and opted for text that stretched along the long side of the bookmark.
When you’re done designing your bookmark, name the file and download it in whatever format you need! Two page bookmarks will download as two pages (PDF) and two separate files (JPG and PNG).
Printing Your Bookmarks
Now that you’ve got a sweet new bookmark design, it’s time to make it a reality! If you have access to a color printer, you can print these bookmarks from your computer. You may have to check your printer settings and whichever program you’ve used to ensure that your bookmarks print front and back and everything is aligned. You can insert a JPG or PNG image to a Word document if you’re printing them yourself and you want multiple bookmarks per page.
If you’re going to have a professional service print them, check to see what their file requirements are. Local shops are likely to take either PDF or PNG files, and online services will allow you to upload the image and preview how your final product will look! Before long, you’ll have your finished product in hand — and you can even laminate them or use a hole punch to add a ribbon marker, making them extra fancy!
Happy creating!
Need some more inspiration? Check out our archives of DIY bookmarks!